Wabi Sabi Beads & Jewelry Design
The theme for April's Pretty Palettes was wabi sabi, the Japanese art of "finding beauty in imperfection." Erin Prais-Hintz wrote a nice description with photos if you'd like to learn more about this concept.
For my jewelry design, I used natural and organic beads that were a little irregular in shape and coloring to create an asymmetrical necklace. I chose a mix of coconut shell, gemstone, wood, and shell beads. (By the way, I showed a sneak peek of these beads last week on my new Instagram account in case you'd like to follow me there!) Erin only listed the metal gear in her original bead picks, though she did use some turquoise in a different size and shape. (All BeadGallery beads shown here are available at Michaels.) 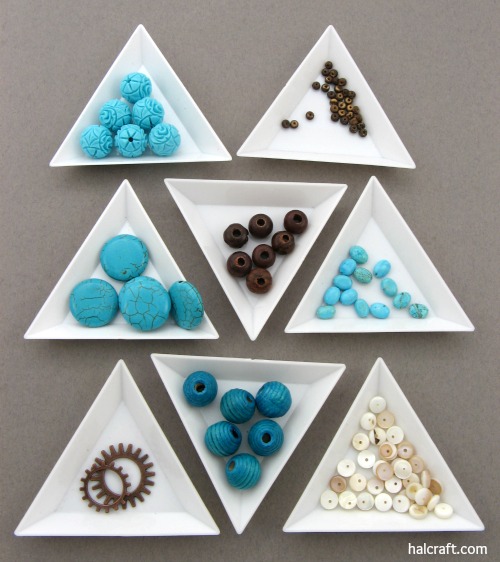
Make Your Own Painted & Distressed Beads
One of my favorite things to do is to take a bead or finding and add my own personal touch to it. Here's what I did this time:
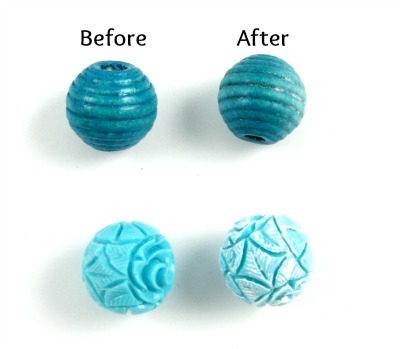
Distressed Beads
Below, top row
The turquoise corrugated beads are some of my old favorites; I've used them unaltered in my Island of Capri Necklace and Beach Bracelet. For this project, I wanted to take off a bit of the shine. I used some rough sandpaper on them to give them more of a rustic look. When looking at sandpaper, remember that the lower the number, the rougher (and larger) the grit. If you're not sure what to use, start with a higher number; you can always move to a lower one if you're not getting the effect you want.
Painted Beads
Below, bottom row
The carved stone turquoise beads from Halcraft are one of my new favorites. They're gorgeous as is, but I wanted to add a bit of white paint to give them a shabbier look and highlight some of the amazing details on the beads. Using an "all surface" paint typically means that a separate sealant is not required. (Love it when craft products save me an extra step!) You'll probably find it easiest to string the bead on a toothpick or wooden skewer to make it easier to hold when you paint. I used a paintbrush, but a sponge would also work well. You'll want to use a paper towel or rag to remove any extra paint. The idea is to mainly leave the paint in the recessed areas of the beads. Don't worry about perfection!
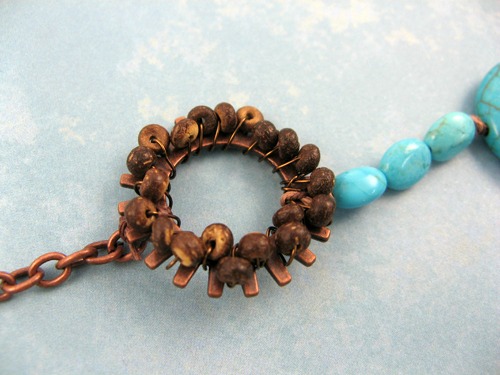
Beaded Connector
I embellished the gear by wire wrapping it with tiny coconut shell rondelles. These tiny beads will flop around a little as you work. You'll have to hold them firmly in place as you wire wrap if you want a more precise (less wabi sabi) look than what I've done. You can also use a thicker wire that fills more of the bead hole. (I used 26-gauge craft wire.)
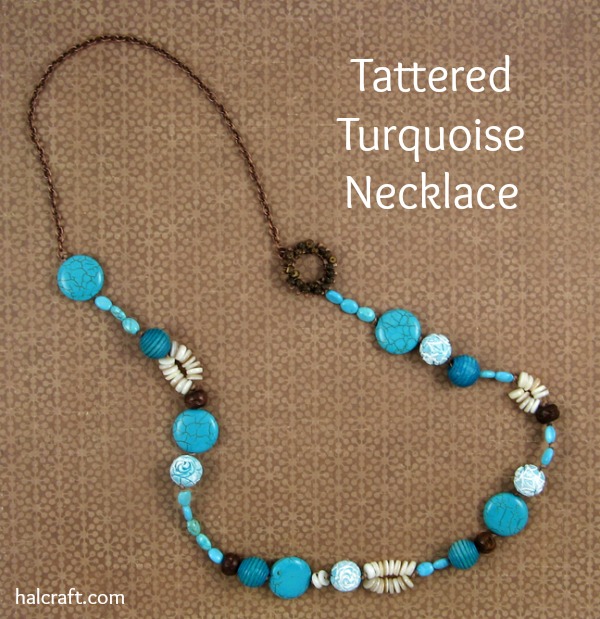
Finishing the Necklace
I knotted the beads on a pair of hemp cords (one dark brown, one light brown) and finished the necklace with chain at the back of the neck. I often like using chain at the backs of necklaces because it can be more comfortable than a string of bumpy beads. (Chain also can fit neatly under a shirt collar in the back.) There's no clasp. The finished necklace is a lightweight, fun accessory.