About a month ago I was asked to assemble the rings in this children's craft kit so three young girls could wear the rings. (The kit was found at a thrift store, so it might not be available any more.) How could I say no?
Here's what the front of the kit looked like: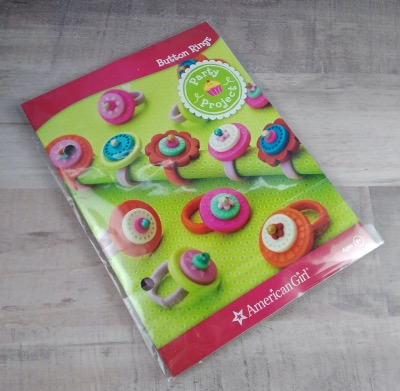
And the back:
I enjoyed figuring out the colors for each of the rings. I made several piles of ring bands, buttons, and beads until I was satisfied with the combinations.
My Kit Changes
Of course I couldn't just assemble the rings exactly the way the instructions specified! Here are the changes I made:
1. I added a couple of tiny round beads from my personal stash since I thought those looked the best as the top piece, but there weren't enough of them in the kit. (To be clear, there were enough small beads, but I didn't like the oval ones as the flower's centerpiece.)
2. I replaced the stretchy cord with Gossamer Floss. After stringing up my first ring with the provided cord, I pulled to tighten the knot and sent beads and buttons shooting all over the kitchen where I was working. (You haven't truly lived until you've tried to find a small white bead the size of a breadcrumb on a kitchen floor!)
3. I added a Glue Dot to attach the back of the largest button to the ring band for added stability. Without it, the ring felt very floppy.
4. I added some washi tape to the back of the largest button to cover up the knotted thread. This gives it a neat, finished appearance and also provides another chance to add some color and/or pattern to the ring.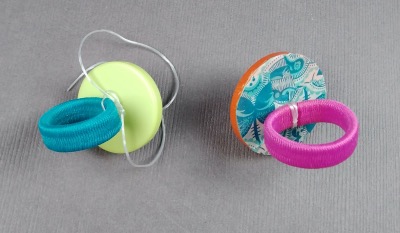
While trimming the washi tape with scissors, I got a bit close to one of the plastic buttons and chipped off the paint! If this happens to you, you might be able to paint it with some non-toxic paints that are child-friendly or cover the sides with a narrow band of washi tape. For the other rings, I measured and cut the washi tape to size first rather than trimming it after it was attached.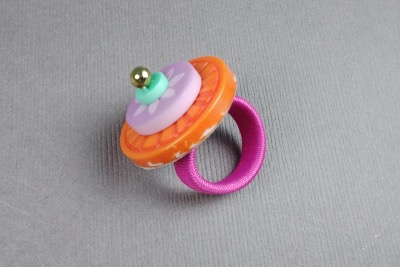
Here's a look at the finished rings: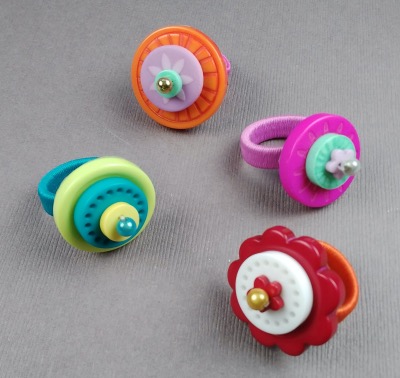
I hope the girls enjoy wearing them as much as I enjoyed making them!