The Inspiration
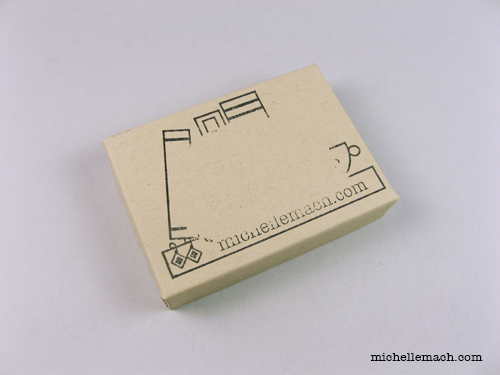
A few months ago I bought a new rubber stamp with my logo, thinking that I'd stamp the tops of my jewelry gift boxes. I practiced on a few boxes, messed them up, and decided that it wasn't worth the effort. (As noted in an earlier blog post, I bought labels instead.) But what to do with the boxes with these imperfectly stamped tops? I hate to waste materials, so I challenged myself to come up with an idea to make them usable again.
I had a small pile of these badly stamped boxes on my table where I do my acrylic painting, so it's not too surprising that one day I wondered what would happen if I used some of my leftover paint from an acrylic pour? I had nothing to lose!
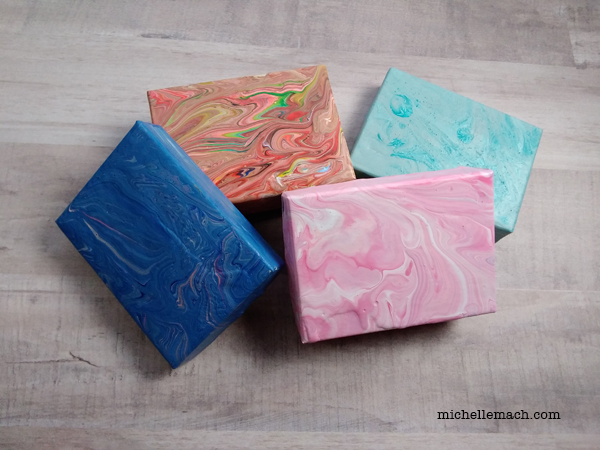
A Few Examples of Painted Box Lids
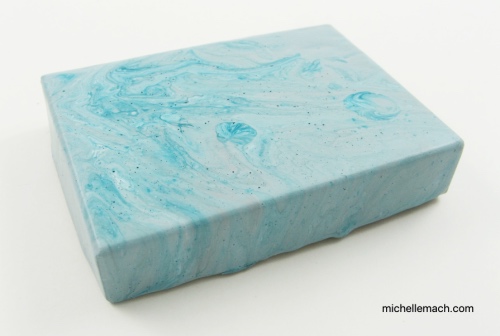
Here's one with a pale aqua and white where you can see some of the drips of the heavy paint towards the bottom of the lid:
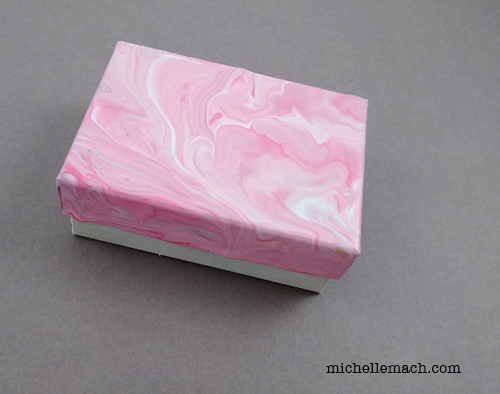
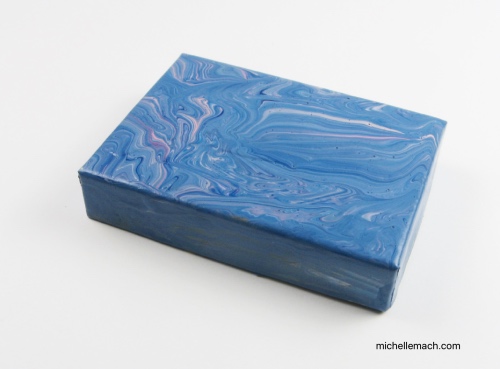
Here are two examples where the lid is an acrylic pour with multiple colors and the bottom of the box is simply painted in a single color:
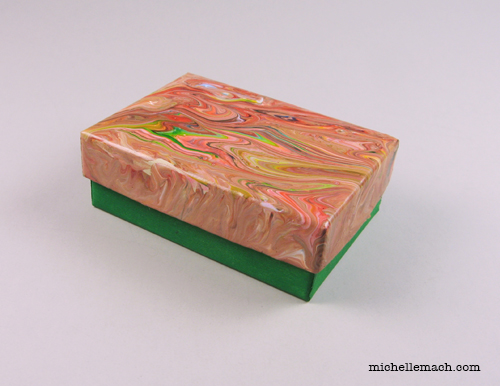
This side view shows how the bottom of one box is just the plain kraft box without any paint: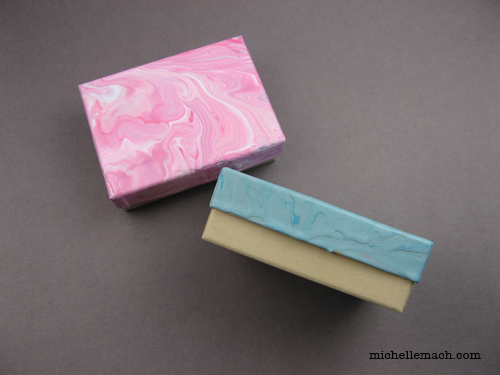
Main Project vs. Box Lid Comparison
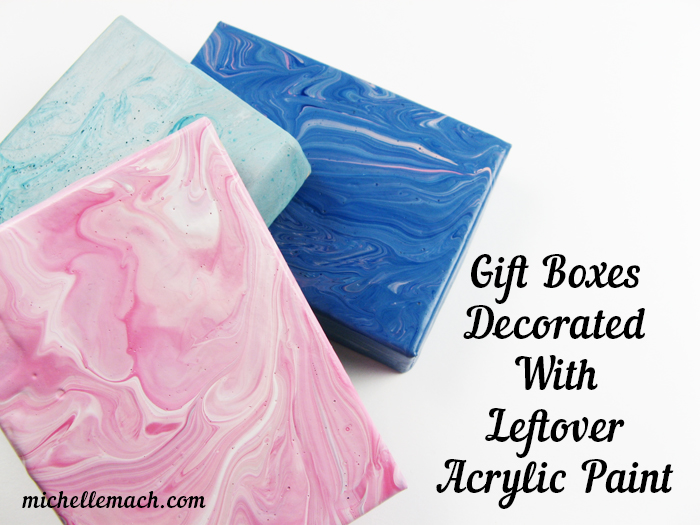
Your main project (the painting) and the secondary project (the box lid) may look a little different. As one example, here's my blue and pink finished abstract painting: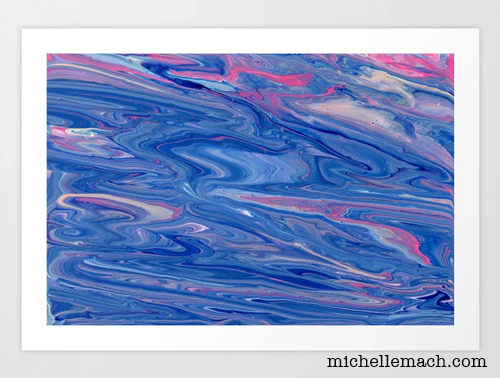
And here's the box lid with the leftover paint. There's definitely less pink and the distinct blues have blended together more. This isn't a bad thing, necessarily, but something to be aware of if you're aiming for a specific look.
Project Tips and Ideas
- Just as with your main painting, the excess paint will drip off the edges and adhere itself to whatever surface is underneath. I've used old Altoid tins and plastic bottle caps to raise the lids (and my canvas) off my main painting surface.
- Waxed paper underneath your poured paint is also a smart idea. Any paint that drips on waxed paper can be used as an acrylic skin on a number of other projects. See "Making 'Skins' with Fluid Acrylics" as one example of how to make acrylic skins. This "Art Journaling" page has some cool ideas on how to use acrylic skins with stencils, while The Beading Gem shares a popular way to use them for jewelry. You could even use them to decorate your box lids!
- The poured paint can be quite thick, so use caution if painting both the tops and bottoms of the boxes. If both are covered with a thick layer of paint, you might not be able to fit them back together. I only paint the lids with the poured paint. The bottoms can be painted with a single layer with a matching or contrasting color or left plain.
- You can seal the paint with ModPodge or another clear sealant just to make the boxes a little more durable. Choose a fancy sealant (like one with glitter) if you want to change the look of the finished lid.
- I didn't prime my boxes (too impatient!) but you could paint a layer of gesso on them before you start to prevent the paint from soaking into the cardboard. This would also help keep your colors brighter.
- Acrylic pour painting is very messy, so you might accidentally get some paint smudges on the inside of the lid. If this happens, you can cover the inside of the lid with decorative paper or a thin coat of paint. To prevent this from happening in the future, you can temporarily cover the inside of the box using painter's tape.
- Have fun! That's always the most important tip for any craft project!