Jury duty.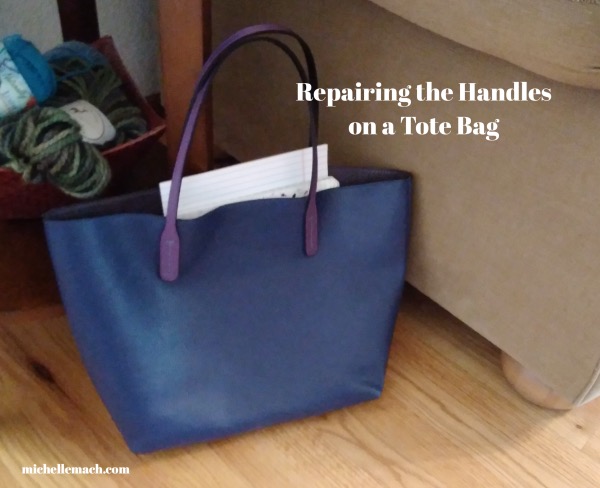
That's what inspired this crafty redo of an old tote bag.
I bet this is the first time in history that those words have been used in conjunction with a craft blog, but here we are.
Last September I received a jury summons. (Yes, this was at a time when the county had an extremely high Covid transmission rate. Vaccinations and social distancing were not required for court, but the notice did ask that I bring (not wear?) a mask. But I digress ...)
Anyway, I've been summoned for jury duty before and knew that the day would consist of a lot of waiting around. I like to pack a big bag: bottle of water, snacks (to eat during break, not in the courtroom), a book to read, a notebook and for drawing or writing ... In preparing for this latest round of jury duty, I discovered that my one nice tote bag had handles that were falling apart. I ended up taking a freebie cloth tote bag to lug all my stuff to the courtroom, which wasn't the sleekest of options, but it did the job fine. This experience was enough motivation to get a replacement.
My first thought was to buy a new bag, but when I took a close look at my current bag, I realized that the tote part was in near-perfect shape. If I could replace the handles, I could probably get a few more years out of it.
One funny thing about being a crafter of any type is that the more you get used to making things in your specialty, the more you look at other things and convince yourself that you could do that, too. How hard could it be?
Before the Repair
Here's a look at the tote bag before the repair:
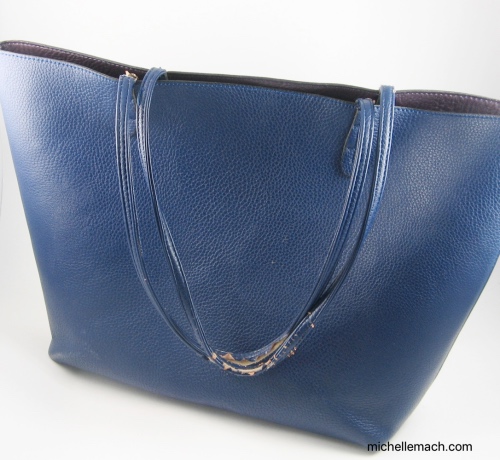
A close up of the straps:
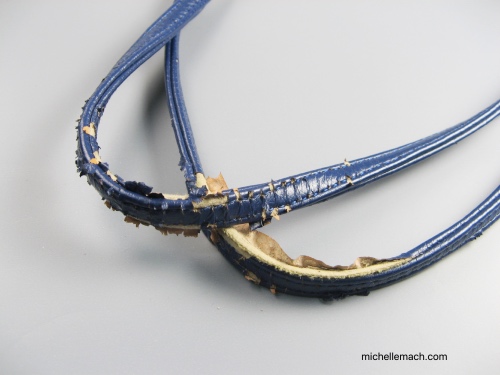
The original straps were attached quite firmly at the ends. It took a lot of patient snips with very sharp scissors to remove them and not cut the bag itself. (I first tried using a seam ripper, but that didn't work on this tight, thick stitching.)
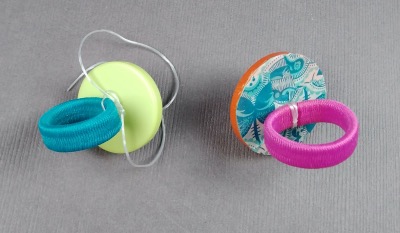
I originally thought I might save part of the old straps and make some kind of cool leather bracelet or hoop-style earrings out of them, but they just fell apart in my hands as I was taking them off.
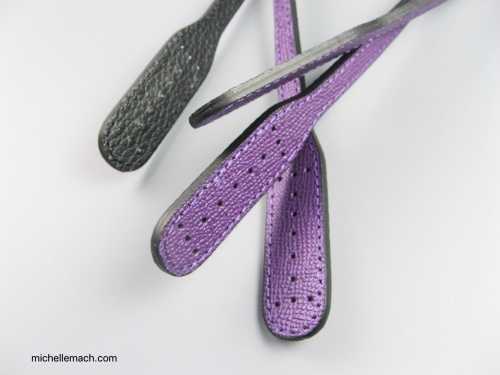
The Replacements
It was fascinating to see how many different types of straps were available on Etsy. Thousands of choices! I learned that some bags have straps with metal clips at the ends; those are the easiest to replace as no sewing is required. In the end, I decided to buy straps that were as similar in style as possible to the original. The new ones were slightly shorter. Measuring the old handles proved a great way to weed out many of the options, as most handles seemed to be much shorter or longer.
I didn't try to match the bag's color as I thought that would be too hard. (Colors can look very different online and in person.) Instead of blue, I went with a dark purple/gray. The inside of the bag is a dark purple, so having handles in a similar color made sense.
There were cheaper options. As is true with most crafts, the more you feel comfortable doing yourself, the cheaper it can be. I could've bought plain strips of leather, dyed/painted them, punched holes in them, sewed the ends together to make a rounded cord. But in my case I didn't want to spend that much time and energy on it. (I wanted a usable tote bag, not an entirely new hobby!)
Here are the replacement straps:
Attaching the Straps
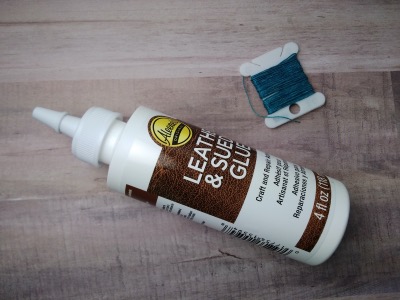
I read this Martha Stewart article on leather and looked for some rubber cement to hold the straps in place while I stitched. Well, actually, I first tried to attach the straps with double-sided tape, but that wasn't nearly strong enough. I ended up buying a bottle of Aleene's leather and suede glue at Michaels. I admit I was highly skeptical of such a specific glue, but it worked perfectly! In fact, it worked so well that I thought I could probably get away without sewing the straps. Ultimately, I decided sewing would provide extra security and just look a little more finished.
I used clamps to hold the straps in place as they dried. Here's what they looked like after I glued them on before sewing:
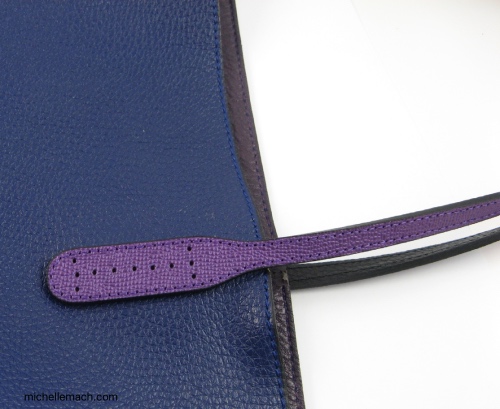
I used an awl to poke holes in the leather before sewing. (I put a thick piece of cardboard inside the bag so that I did not accidentally poke holes in the other side.) I chose to use waxed linen cord because it's known for its strength and it doesn't fray. Plus, it was something I already owned and by this point in the project I was anxious to finish. I don't mind seeing the stitching, but if you do, it would be easy to match the color as waxed linen cord comes in numerous colors.
Here's a close-up of the finished stitched handles:

I'm happy with how the tote bag turned out and that we ended up being dismissed as potential jurors shortly after we checked in. Still, I hope it's a long time before I need to do either again!


 Late last month I upgraded my computer system, so I feel like most of the Googling I've done recently has been exciting topics like "Why doesn't my scanner work anymore?" and "What's wrong with my keyboard?" That said, I did spend a little time online with some more fun topics. Here's my latest list of items that I've been enjoying recently: